TL;DR – Our site went down, the world shut down, started a backyard chicken egg marketplace app.
Site Go Bye-Bye
Well, 2020 has been an interesting year so far! We’ll get to the COVID-19 stuff in a bit, but the year started off rocky for silversojouner.com. Due to being busy with working out of town and handling simultaneous jobs, our family site went down and we didn’t know about it! There was some confusion in our hosting and the site was deleted! Oy!
Thankfully, we caught it in time and our hosting provider was able to secure a backup of the entire site before it was archived into la-la land forever (fully deleted). So, it took some time to recover that and spin in back up with new hosting. There’s been a few quirks here and there, but hopefully most of it is running smoothly.
COVID-19
So, yeah, COVID-19 is happening. It’s confusing times for sure with all the different data points and interpretations of the data, as well as the response to the virus. We keep an extra close eye on the data;
Hi Miette!
while Miette is fully healthy (7 years post treatment!) we do keep in mind that chemotherapy can permanently change things. We do consider her compromised, even though we believe her to be fully healed and recovered. None-the-less, we know there are compromised folks out there and they have our concern.
Unfortunately, our family was economically impacted by the shut down and our jobs were lost. I (Kelly) was working at REI and they had to shut down all their stores. Who knew that shutting down every store would make revenue disappear? Uh, everyone. We saw it coming and it wasn’t a surprise, but still sad. Worked with a really great team at REI and hope to meet up and work with them again!
Yolk Folks Eggs!
While all this was happening, I did build a web app to help folks buy and sell home-grown, backyard chicken eggs! Of course, if you’ve browsed through our site, you’ll notice that we are believers in healthy, whole food, organic (as much as possible), clean eating. Cancer sucks and we believe diet plays a big part of overcoming it – whether its eating to kill the cancer or eating to overcome the toxic conventional treatment of it (chemo).
We also believe in locally sourced foods in order to avoid conventional (and stale) mass produced food sources. We also have chickens and eat a lot of eggs! While selling and buying eggs locally from your neighbors isn’t a new thing, we wanted a better and easier experience for both the seller and the buyer. So check it out! The site is in need of sellers right now, so if you know any, please send them on over! The hardest part is signing up with Stripe (even though it’s not ‘hard’) because buyers don’t actually pay Yolk Folks for the eggs. Yolk Folks just provides the platform (the app) for sellers to sell directly to the buyers! We appreciate your support in using the app and helping backyard chicken folks earn some extra cash and local small poultry farms have another outlet for selling their eggs.
So, there’s an update with us! Hoping everyone is well and that the rest of the year brings good health and good fortune!
We love coffee. Mostly, we have latte’s. Mostly, in those latte’s, we put a little coffee sweetener to it in the form of syrup (10ml to be exact). The syrup we usually use is Monin syrups. They have the least amount of “crap” in the ingredients. We don’t get too exotic with syrups, usually keeping Vanilla and one other flavor. We were spending $5.39 per bottle at the local Cash and Carry. When we are out of syrup and still want something added to the latte, we use sugar. The problem is, the sugar collects at the bottom of the cup. This is a problem.
A great alternative is simple syrup. Not only is it easier on the wallet than store bought syrup, it is extremely fast to make (5 minutes). We use organic sugar and filtered water so… its organic syrup 🙂 It also doesn’t collect at the bottom of the cup. Liquefying the sugar allows it to be suspended in the coffee, thus making a more uniform flavor. But most of all, this is another way to cut out unnecessary ingredients from the diet and is inline with consuming natural ingredients.
So here’s the complicated process of making some very simple syrup. Pay attention. Study it and take your time.
Simple Syrup
Get a sauce pan
Add 1 cup of organic sugar
Add 1 cup of filtered water (even though you’re boiling it)
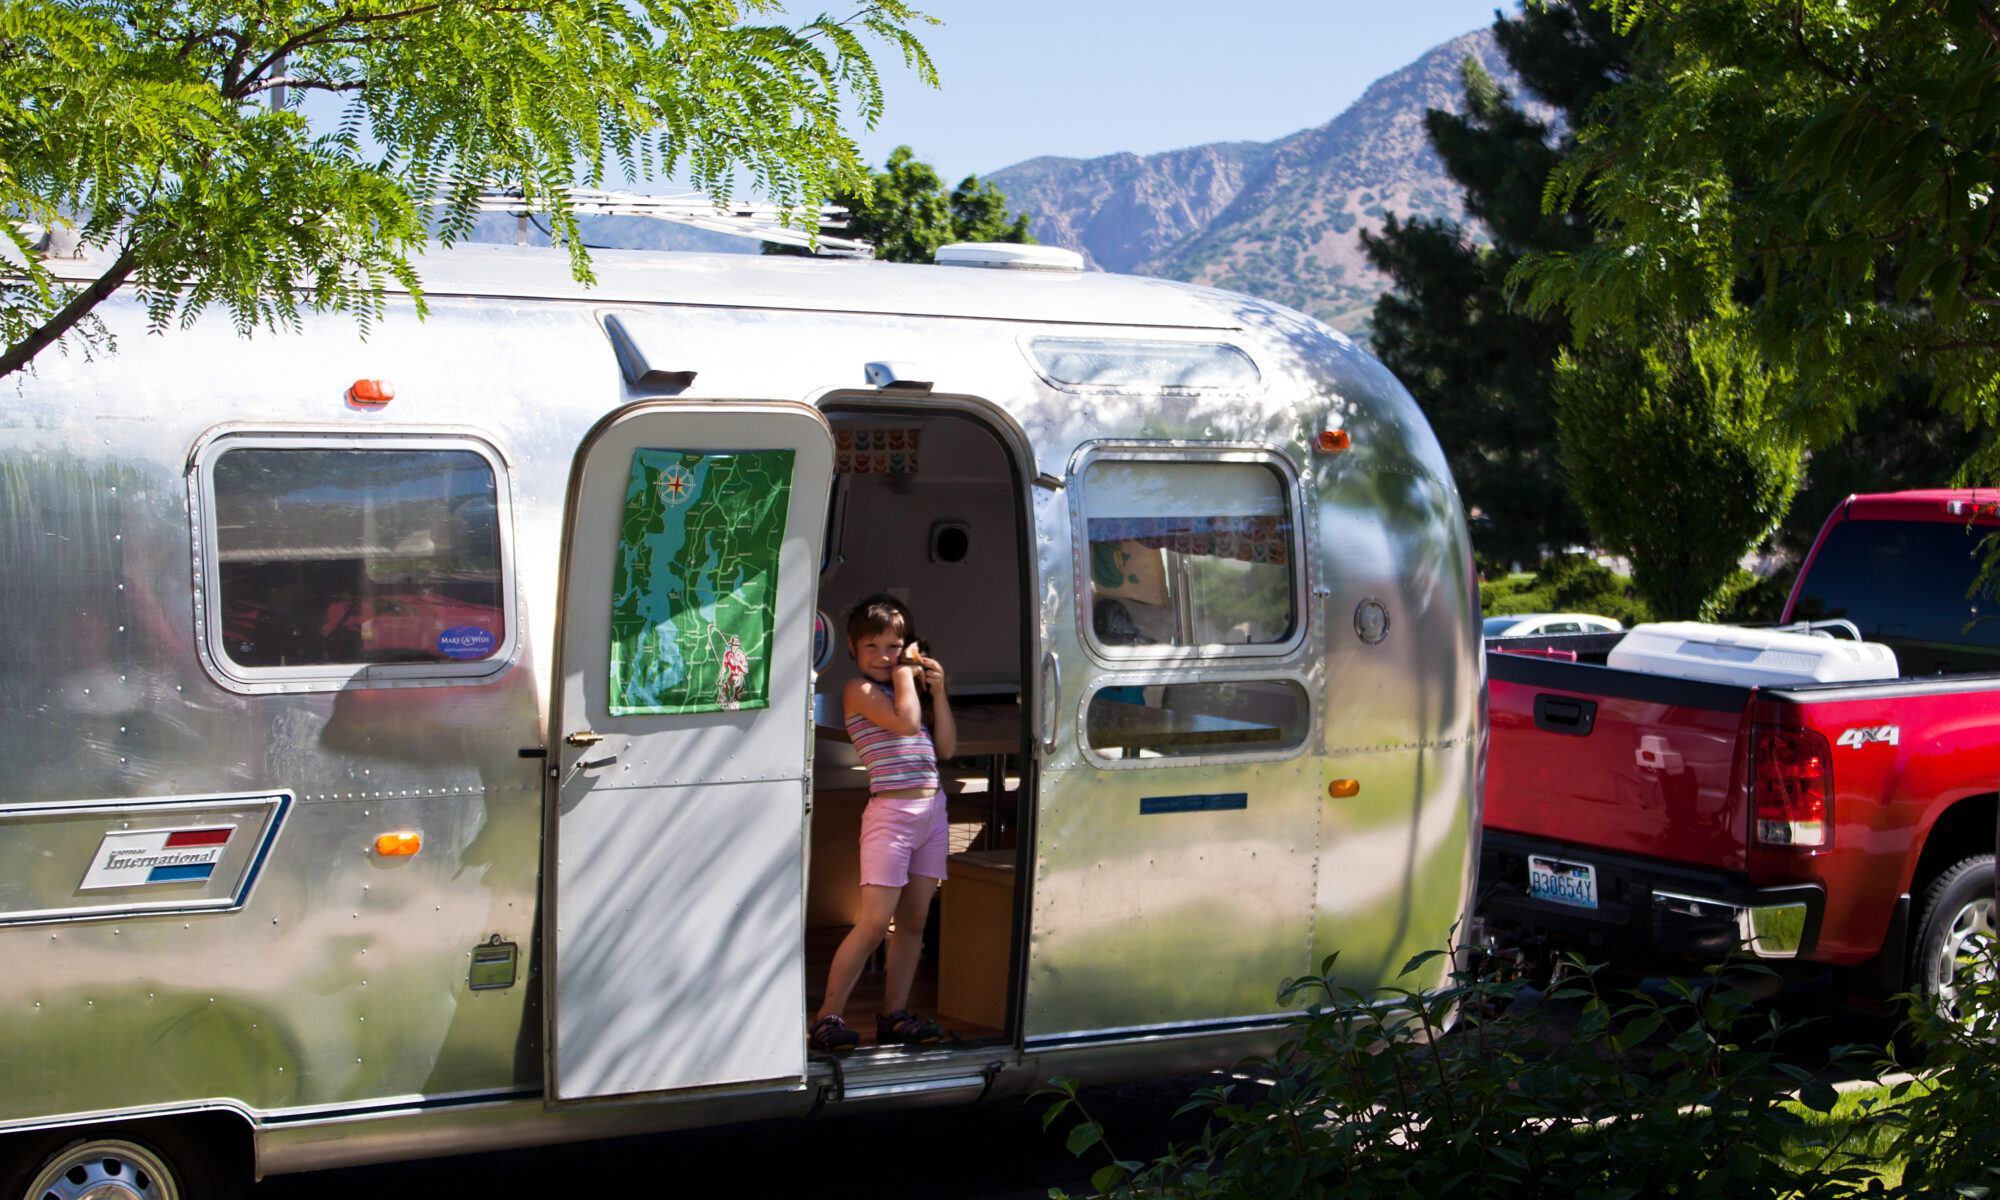
This post will be about making coffee using a Moka pot while staying in an RV (or not just any RV, but an Airstream) for a month. I’m not sure I could use a Moka pot full-time so this may not apply to all you full time RV folk, but then again, we were using a hand grinder. The Italians also use it every day, so maybe I’m just lazy and used to flipping a lever. After tweaking this and that to determine the best process of getting some espresso, or as close as we could using the Moka pot, I have set out to document the way I used it. I’m not saying this is the best method at this time, but it worked for us. A Moka pot is a cheap option as well. You can pick them up at Amazon for around $25-40 and they’ll last forever.
Before we left for Miette’s cross-country trip in her vintage Airstream, we were faced with the daunting prospect of leaving the Expobar Brewtus IV espresso machine and Macap M4 grinder at home. Even though we would be left with only 4 square inches of countertop space to work with, we still seriously contemplated taking the setup with us on our travels. Coffee is serious business in this family. To say I’m a coffee snob is being nice. I’m not saying I’m a coffee genius but coffee is something that needs to be done right, each and every time with no exceptions. Preparing the espresso is much easier to do with our day to day equipment. Unfortunately there were some deal killers with taking our equipment:
The Expobar and Macap would double the weight of the Airstream.
We did not have a generator yet so the Expobar and Macap would be nice ornaments when boon-docking off the grid.
We were fearful of the machines falling over and getting tossed around without a sure fire way to secure them in the short time we had to get the Airstream road ready.
There was really no room for them and leaving one child at home to make space was not an option.
Thankfully, some friends lent us their Moka pot and our favorite local small batch roaster, Steve Stoneking of Buzzjoy Coffee Roasting, lent us his hand grinder. This setup worked well but the grinder took some time. We are primarily latte drinkers and were also lent a stove-top steamer, which ended up working reasonably well. Another option we thought of was a french press, but we were worried the glass wouldn’t make it through the trip. A Moka pot is completely durable.
How We Made Coffee In The Moka Pot
Here is the process that worked well for us for making a decent latte.
WARNING: My wife has informed me that the following instructions might seem extremely “geeky” and long. There is the possibility that one could get lost in the geekiness if their passion for making a really good cup o’ joe with the Moka pot isn’t at a very high level. I will provide a more simple set of instructions following the lengthy set.
Assemble the following tools. Have everything out that is needed. Once the process starts, there’s no time to waste to look for everything… that is, if you want it to be an efficient process and be a well-oiled excellent coffee making machine.
Moka Pot
Hand grinder (like this one if you’re boondocking)
I measured out about 48 grams of beans. Coffee is extremely picky so the weight is very important. I tried 52, 50 and 46 grams… they all had different results. 52 was too slow and I couldn’t get enough liquid. 46 was not enough; there was no crema and it splattered out of the spout and was messy. 48 grams (with the stash of beans we had) came out nice and smooth with good crema. The grind setting was in between an espresso grind and a drip grind but more towards the espresso side. All this is called “tuning” in the beans (finding the correct weight vs. grind setting). As you can see, it took a few attempts to get the beans tuned. When we got a new batch of beans, this had to be done all over. Sometimes we’re lucky and the tune is the same for the next batch. If the next batch is a totally different roaster, expect to have to spend some time tuning in those beans. After weighing your beans, set them in the hand grinder ‘hopper’.
Pre-heat the Water
Make sure the stove-top steamer is filled with enough water (2/3 full is what I had) and put that on high heat.
Leaving the basket to the side, fill the bottom section of the Moka with fresh water up to just below the relief valve and put it on high heat. This is to preheat the water. The idea is that we want this coffee to be as close to an espresso pull as we could get (yes, we are stretching the use of the Moka a bit further than designed). The problem is, Moka pots can’t produce the same pressure as a pump driven espresso machine. Not preheating the water would cause the water to boil up into the grinds and stay there longer and be a slower brew. My thinking is that I want a fast, high pressure brew to mimic an espresso extraction as much as possible. So bring the water to a small boil first and then turn off the heat.
Preheat the water in the Moka pot and the steamer while grinding the beans.
Manual Labor (Grinding)
While the water is heating up, start to grind the beans with the hand grinder. The time it takes to grind the 48 grams of beans by hand is about the same time it takes to boil the water and for the steamer to have built up enough steam to get a good milk roll. This is a very manual process and your arms will probably get tired. Unless you are Clark Kent. Or Batman; I’m sure Batman wouldn’t get tired. Or Chuck Norris. Actually, Chuck Norris just uses his fist to grind the beans. You can try grinding the beans with your fist, but you’re not Chuck Norris so I don’t recommend it. The grinding and heating the water should all be completed around the same time. If the water starts to boil before the grinding is done, turn off the heat. NOTE: Do not use an electric blade grinder. It’s tempting because of the time it saves. The hand grinder is a conical burr grinder and will give you way better grain consistency which is absolutely key to making good coffee. I’m serious; don’t use a blade grinder. If you do I will have Chuck Norris make sure it never happens again.
Grinding by hand takes a bit of time. Talk about ‘hand crafted’…
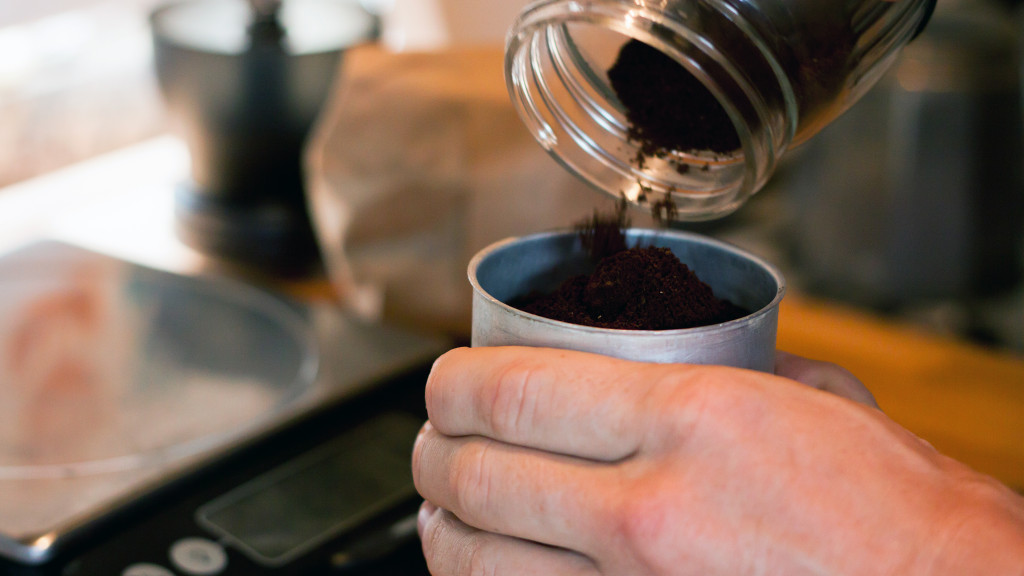
Properly Filling the Basket
Once the grinding is done, begin to fill the basket with the grinds. This part is a bit tricky and requires a bit of ‘feel’. What I did was fill the basket about half full and then lightly tap the basket on the counter to compact the grinds ever so slightly. I did this a couple more times till all the grinds were in the basket. Fill, tap a little. Fill, tap a little. I didn’t tamp the coffee down with my finger till all the grinds were in the basket and even then, I lightly tamped, just to flatten out the mound and squish it down a bit – the basket should be full. Compacting the grinds too hard will prevent the water from being able to push through (at 48 grams) the grinds and up into the spout. Not tamping enough won’t let the grinds all fit in the basket. Again, we’re trying to push the limits of the Moka pot and produce some decent pressure through the basket. There’s a perfect balance somewhere in there between the fineness of the grind, the amount of beans and the compactness of the beans. I was constantly trying to find this balance. Sometimes I did, sometimes I didn’t. Each time using the Moka pot was a lesson for the next time.
FIll the basket with the grinds a bit, then lightly tap the basket on the table to settle the grinds. Do this only 2 or 3 times.
Assemble the Pot
When the basket is prepared, set it inside the bottom container of the moka pot. Take the upper pot and start to screw it on and do this enough until you can lift up the whole thing off the burner. Grab a kitchen towel or oven mitt so you can hold the bottom of the moka pot while tightening down the top portion. Make sure its nice and tight, otherwise the pressure will squeeze water through the threaded seam of the pot.
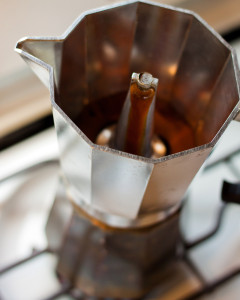
Begin the Extraction Process!
Keep the lid open so you can see how to the coffee is coming out. Think of this as pulling with a naked portafilter… except its a Moka Pot with the lid open.
Put the Moka pot back on the heat. Set the heat on high. Remember, we preheated the water so it will only take a couple minutes at this point. You should start to see some nice crema slowly coming out of the spout. It will slowly change to a more dark coffee flow. I was only able to get enough coffee to make it about 1/4 – 1/3 up the spout.
This is about 3.5 ounces… just barely enough for two lattes (is there a such thing as a Moka ristretto?). This is OK for us because this coffee is going to be a bit stronger than a normal Moka pot of coffee… which is what we want :). We also don’t use much milk in our latte’s. If you use this method for a 12 or 16 ounce latte it will taste weak… ya know, like most espresso stands make.
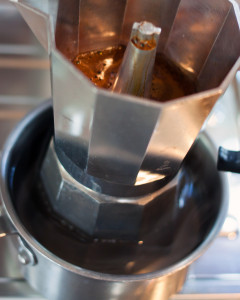
Putting the pot in a pot of tap water will stop the extraction process.
When the coffee starts sputtering out of the spout a bit and the flow becomes inconsistent, it’s time to remove the Moka pot from heat and quickly set it in a pot of water.
This will stop the extraction process and stop the “pull” of espresso by quickly cooling the water remaining inside. Letting it continue would be similar to continuing to pull an espresso shot after all the good flavor has been extracted. Letting it continue will begin to extract the undesired flavors of the coffee. Note: If bad flavor is the desired result, please see the more simple and quick tutorial at the end of the page.
Build Your Coffee Drink
Depending on how you like to drink your espresso, now you can prepare your drink to your liking.
By the time the coffee is done, the steamer should be ready to steam the milk… if you want a latte that is. I did.
Here are more simple instructions for those who just need some dark colored water that resembles coffee:
Acquire some pre-ground coffee. Preferrably the coffee that was roasted 5 years ago.
Put pre-ground coffee in basket.
Assemble Moka Pot with water filled up to pressure valve.
Put Moka on high heat until brownish water starts splashing out of the spout.